12. django-bootstrap5の導入
スマートフォンでも見た目がよくなるように Bootstrap5 を導入してみましょう
12.1. django-bootstrap5を有効化
DjangoからBootstrap5を使う方法はいくつかありますが、 django-bootstrap5 を使うのが簡単です。
すでにインストールはしてあるので、有効化の設定とテンプレートファイルの作成を行います。
settings.py の INSTALLED_APPS に 'django_bootstrap5', を追加します。
INSTALLED_APPS = [
    'django.contrib.admin',
    'django.contrib.auth',
    'django.contrib.contenttypes',
    'django.contrib.sessions',
    'django.contrib.messages',
    'django.contrib.staticfiles',
    'self_order',  # self_orderアプリケーションを有効化
    'debug_toolbar',  # django-debug-toolbar
    'django_bootstrap5',  # django-bootstrap5
]
12.2. テンプレートファイルの作成と変更
テンプレートファイルを継承して使うため、 bootstrap.html を作成します。
templates/bootstrap.html:
{% extends 'django_bootstrap5/bootstrap5.html' %}

{% block bootstrap5_title %}{% block page_title %}{% endblock %}{% endblock %}
base.html の内容も変更します。
templates/base.html:
{% extends 'bootstrap.html' %}

{% load django_bootstrap5 %}

{% block bootstrap5_content %}
<div class="container">
    <h1>{% block title %}(no title){% endblock %}</h1>

    {% autoescape off %}{% bootstrap_messages %}{% endautoescape %}

    {% block content %}(no content){% endblock %}
</div>
{% endblock %}
form.html も変更します。
templates/form.html:
{% load django_bootstrap5 %}

{% if form.management_form %}
  {% bootstrap_formset form layout='horizontal' %}
{% else %}
  {% bootstrap_form form layout='horizontal' %}
{% endif %}

<div>
  {% bootstrap_button button_type="submit" content=submit_text %}
</div>
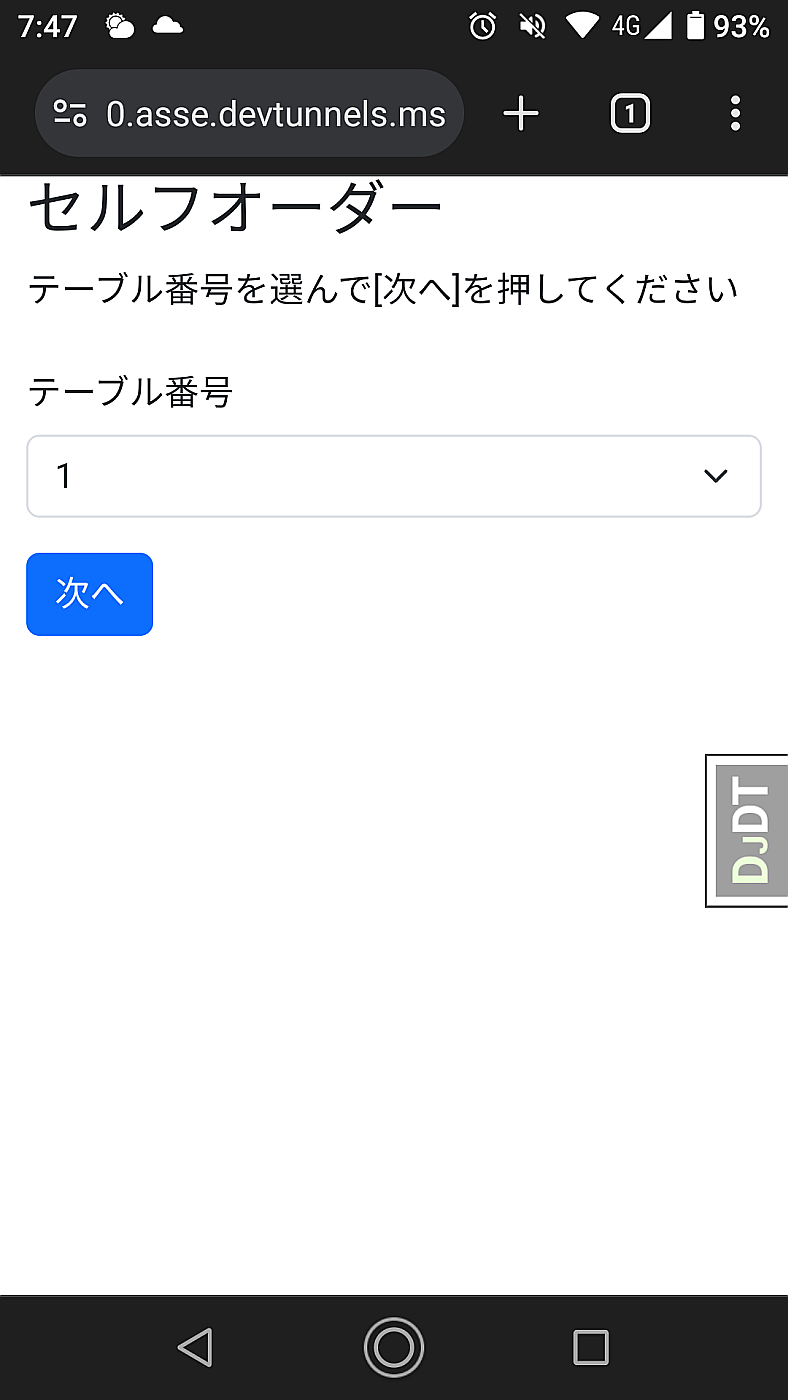
これでスマートフォンから再度確認すると、Bootstrap5が適用されて見やすくなりました。